Switching phones or systems should be easy. A good smartphone setup checklist keeps your data safe and makes your phone work better. We’ll show you how to set it up smoothly.
Setting up your phone is more than just logging in. You need to focus on security, backups, and important settings. Doing this now helps avoid losing data later.
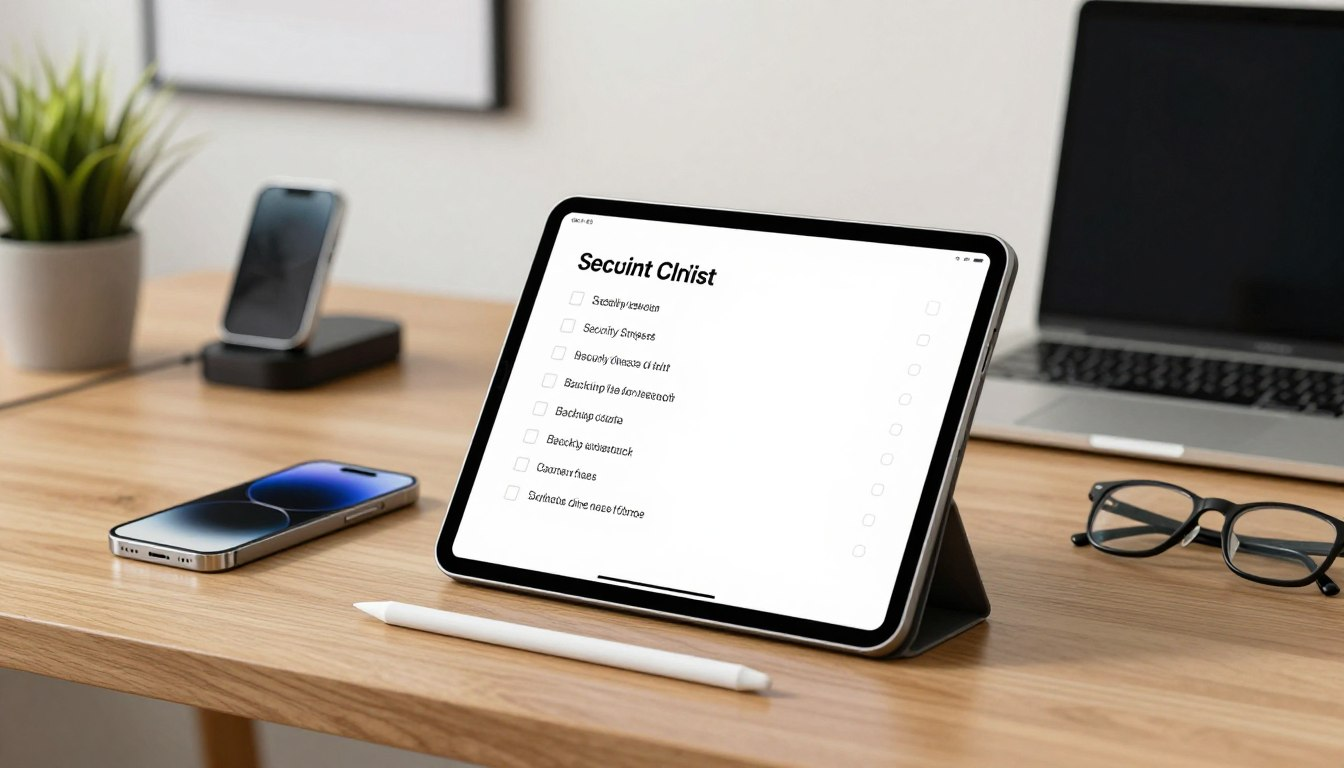
Using a detailed new phone setup checklist protects your privacy and improves your phone’s performance. This guide will help you with the key settings and security steps for a superior mobile experience.
1. Prepare Before Powering On Your New Device
To make switching to your new phone easy, some prep is needed. Before turning on your new device, follow these steps. They’ll help make setting up your new phone smooth and quick.
1.1. Gather Your Account Credentials and PINs
First, collect all your account info and PINs. This includes your Google or Apple ID, passwords, and other account details. Having this ready will make setting up your new phone faster and easier.
Make sure to have the following credentials ready:
- Google or Apple ID
- Email account passwords
- Social media account login details
- Banking and financial app credentials
1.2. Back Up Your Current Phone Completely
Backing up your current phone is key before getting a new one. The best way is to back up to your Google Account or iCloud. This keeps your contacts, photos, and app data safe and ready for your new phone.
For Android users, go to Settings > Google > Backup to start a backup. iPhone users should go to Settings > [Your Name] > iCloud > iCloud Backup and tap Back Up Now.
| Backup Method | Android | iOS |
|---|---|---|
| Cloud Service | Google Account | iCloud |
| Settings Path | Settings > Google > Backup | Settings > [Your Name] > iCloud > iCloud Backup |
| Initiate Backup | Toggle on “Back up to Google Drive” | Select “Back Up Now” |
1.3. Check SIM Card and Carrier Compatibility
Before switching, check if your SIM card fits your new phone. If it doesn’t, you might need a new SIM from your carrier.
Also, make sure your carrier supports your new device. You can check this on your carrier’s website or by calling them. Some carriers have tools to check device compatibility online.
2. Complete Initial Activation and Account Configuration

Turning on your new phone is easy and gets you ready for fun. First, power on your device and follow the screen’s instructions.
2.1. Power On and Select Language and Region
Insert your SIM card into your phone (skip this if using an eSIM). Then, press the power button to start. You’ll pick your language and region next. This choice affects your phone’s language and how it shows dates and numbers.
2.2. Connect to a Secure Wi-Fi Network
Next, you’ll connect to Wi-Fi. It’s best to use a secure network to keep your device safe. Pick a trusted and safe network.
2.3. Sign In to Your Primary Account
After Wi-Fi, sign in to your main account. This is key for using your device’s features and services.
2.3.1. Apple ID Setup for iPhone Users
If you have an iPhone, use your Apple ID to get to iCloud and the App Store. You can also make an Apple ID here if you don’t have one.
2.3.2. Google Account Setup for Android Users
Android users need to sign in with their Google Account to use Google Drive and the Google Play Store. You can make a Google Account if you’re new to Android.
| Platform | Account Type | Services Accessed |
|---|---|---|
| iPhone | Apple ID | iCloud, App Store, Apple Music |
| Android | Google Account | Google Drive, Google Play Store, Google Photos |
By doing these steps, you’ve activated your phone and set up your main account. Now, you can customize and optimize your device.
3. Set Up Strong Security Locks and Biometric Authentication

To keep your digital life safe, you need strong security on your new phone. This means setting up many layers of protection. It helps stop others from getting into your device and personal info.
3.1. Create a Secure Six-Digit PIN or Alphanumeric Password
First, make a strong lock screen PIN or password. A six-digit PIN is a good start, but think about using an alphanumeric password for more security. Don’t use your birthdate or common patterns because they’re easy to guess.
Tips for a strong PIN or password: Mix numbers, letters, and special characters. It should be at least six characters long. Don’t use patterns like 123456 or abcdef.
3.2. Configure Face Recognition Technology
Face recognition is a handy and safe way to unlock your phone. To set it up, go to your phone’s security settings. Follow the steps to register your face. Make sure you’re in a bright area and follow the on-screen directions well.
3.3. Register Your Fingerprints for Quick Access
Fingerprint recognition adds more security and convenience. To register your fingerprints, go to the fingerprint settings in your phone’s security menu. You’ll need to place your finger on the sensor several times to get different views.
Note: Make sure your fingers are clean and dry for accurate fingerprint registration.
3.4. Enable Auto-Lock Timer for Maximum Security
Turning on an auto-lock timer makes your phone lock by itself after a while. This is key to keep your phone safe if it’s lost or left alone. You can find this setting in the screen lock or security settings.
- Pick a lock time that’s not too short but not too long, like 30 seconds or 1 minute.
- Think about setting your phone to lock right away when the screen goes off for the best security.
4. Configure Comprehensive Backup Solutions

Backup is key before your files grow. It’s a must-have in your new phone setup checklist. Without protection, your device risks losing important data. So, setting up a good backup is vital.
4.1. Enable Automatic Cloud Backup Services
Automatic cloud backup keeps your data safe without you doing anything. It’s important for keeping your files and settings up to date.
4.1.1. iCloud Backup Configuration for iPhone
iCloud makes backing up your iPhone easy. Here’s how to turn it on:
- Go to Settings
- Tap on your Apple ID
- Select iCloud
- Tap on iCloud Backup
- Turn on iCloud Backup
4.1.2. Google One Backup Settings for Android
Android users can use Google One for backups. Here’s how to set it up:
- Open the Google One app
- Tap on Settings
- Select Backup
- Make sure the backup is on for the data you want
4.2. Select What to Back Up and Storage Options
Choose what data to back up and pick your storage. iCloud and Google One have different plans. Pick what fits your needs.
| Cloud Service | Free Storage | Paid Plans |
|---|---|---|
| iCloud | 5GB | 50GB, 200GB, 1TB, 2TB |
| Google One | 15GB (shared with Google Drive and Gmail) | 100GB, 200GB, 2TB, and more |
Think about how much data you have. Photos, videos, and app data count.
4.3. Verify Your First Backup Completed Successfully
After setting up backups, check if the first one worked. This keeps your data safe and ready for restore if needed.
For iPhone: Look at the iCloud Backup section in Settings for the last backup time.
By following these steps, your new smartphone will be backed up regularly. This gives you peace of mind and protects your data.
5. Adjust Privacy Settings and App Permissions

Setting up a new device means making it private and secure. You need to adjust privacy settings and manage app permissions. This keeps your personal data safe.
5.1. Review and Restrict Location Services Access
Location services help you find places and get directions. But, they can also share your location. To control this:
- Go to your device’s Settings app.
- Select “Location” or “Location Services.”
- See which apps use your location and change their permissions.
5.2. Disable App Tracking and Personalized Advertising
App tracking and ads can be annoying and invade your privacy. To stop them:
- Navigate to your device’s Settings.
- Find “Privacy” or “Advertising” settings.
- Turn off “Personalized Ads” or “App Tracking.”
5.3. Configure Camera and Microphone Access Permissions
Many apps use your camera and microphone. But, you should choose which apps can do this. To manage these permissions:
- Open the Settings app.
- Go to “Privacy” and then “Camera” or “Microphone.”
- Check which apps can use them and change it if needed.
5.4. Turn Off Unnecessary Data Sharing with Third Parties
Apps often share your data with others, which can be risky. To reduce this:
| Action | Description |
|---|---|
| Review App Permissions | See which apps have too many permissions. |
| Adjust Settings | Limit data sharing in app settings or your device’s privacy settings. |
| Use Privacy Features | Use built-in privacy tools to limit data sharing. |
By following these steps, you can make your device more private and secure. This ensures a safer experience for you.
6. Your Complete New Phone Setup Checklist for Critical System Settings
As you near the end of setting up your new phone, focus on key settings. These settings boost security and make your phone work better. They help keep your data safe and your phone running smoothly.
6.1. Enable Two-Factor Authentication for All Accounts
Two-factor authentication (2FA) adds extra security to your accounts. It asks for a password and a code sent to your phone or email. This makes it harder for others to get into your accounts.
To turn on 2FA, go to your account settings. Follow the steps to activate it for each app or service you use.
6.2. Activate Find My Device Protection Features
The “Find My Device” feature is key if your phone gets lost or stolen. It lets you find your device, lock it, or erase its data. This keeps your phone safe from others.
To use it, go to your phone’s security settings. Sign in with your Google or Apple account.
6.3. Add Emergency Contact Information and Medical ID
Adding emergency contacts and a Medical ID can save lives. This info is on your phone’s lock screen. It helps first responders reach your contacts or know about your health.
To set this up, go to your phone’s health or emergency settings. Follow the instructions to add this important info.
6.4. Turn On Automatic System and Security Updates
Keeping your software up to date is important. It keeps your phone secure and lets you use new features. Go to Settings, then System, and tap Software updates.
Make sure you have the latest version. Turning on automatic updates means you don’t have to check for updates yourself.
By following these steps, you’ll make your new phone safer and more fun to use. You’ll enjoy a better experience with your device.
7. Optimize Display and Battery Performance Settings
Now that you’ve set up your new device’s security, it’s time to tweak display and battery settings. These tweaks can make your phone feel just right. They’ll make your new phone a joy to use.
Adjusting Screen Brightness and Auto-Lock Timeout
Setting the screen brightness right is key for your eyes and battery. Go to your display settings and pick a brightness that feels good. Also, set your auto-lock timeout to save battery when you’re not using your screen.
Tips for optimal screen brightness:
- Lower the brightness in dimly lit places to ease eye strain.
- Increase brightness in bright spots for clearer views.
- Try auto-brightness if your device has it.
Enabling Dark Mode to Reduce Eye Strain
Dark mode is great for your eyes, making them less tired in the dark. It changes colors to a darker scheme. To turn it on, go to your display settings and pick dark mode.
Configuring Battery Optimization and Adaptive Features
Battery optimization saves your battery by limiting data use and app power. Go to your battery settings and turn it on. Some devices also have adaptive battery, learning your habits to save power.
| Feature | Description | Benefit |
|---|---|---|
| Battery Optimization | Limits background data and reduces power for apps you don’t use often | Keeps your battery going longer |
| Adaptive Battery | Adapts to your habits to save power | Uses power wisely based on how you use it |
Setting Up Low Power Mode Automation
Low power mode cuts down on power use by limiting data and brightness. You can turn it on yourself or set it to start when your battery gets low. To automate it, go to your battery settings and set it up.
By following these steps, you’ll make your new device’s display and battery better. This will give you a great experience and longer battery life. It’s all part of setting up your new phone right.
8. Customize Notification and Sound Preferences
To get the most out of your new device, personalize your notification and sound settings. This makes your smartphone truly yours. It lets you control when and how you get notifications. And it ensures your device alerts you in a way that fits your life.
8.1. Create Do Not Disturb Schedules for Focus Time
Creating a Do Not Disturb schedule helps you focus. Go to your phone’s settings and find “Do Not Disturb” or “Focus Mode.” Schedule it for when you need to concentrate, like work hours or study sessions.
Benefits of Do Not Disturb: It reduces distractions, helps balance work and life, and ensures rest.
8.2. Manage Individual App Notification Settings
Managing app notifications is key to avoiding info overload. Customize notifications for each app. Choose which ones can interrupt you and which should stay silent. Go to your phone’s notification settings, pick an app, and adjust its notification settings.
- Prioritize notifications from important contacts or apps.
- Mute notifications from less critical apps during certain times or altogether.
- Customize notification types (e.g., sounds, vibrations, or banners).
8.3. Customize Ringtones and Alert Sounds
Personalizing your ringtones and alert sounds makes your phone more fun. Choose from pre-installed sounds or your own music files. Go to your phone’s sound settings, select the sound type, and pick a new sound.
Tips for Customization: Use different sounds for different notifications. This way, you can quickly know what alert you’re getting without looking at your phone.
8.4. Enable Critical Alerts While Blocking Spam
You can allow critical alerts from certain apps or contacts while blocking spam. This ensures you get important info without being flooded with non-essential alerts. Check your phone’s notification settings to set which notifications are critical.
By following these steps, you can make your notification and sound settings fit your lifestyle. This enhances your smartphone experience as part of your new phone setup checklist.
9. Install Essential Apps and Transfer Your Data
Now that your new device is ready, it’s time to get it set up. You’ll need to download important apps and move your data. This makes your new phone work just like you want it to.
First, find the app store on your device. Android users go to the Google Play Store. iOS users use the App Store. Make sure you’re on a safe Wi-Fi to avoid extra charges.
9.1. Download Trusted Security and Antivirus Apps
Start by getting a good security app. These apps keep your device safe from bad stuff online. Good choices are Norton Antivirus, Kaspersky Mobile Antivirus, and Avast Mobile Security.
9.2. Install a Reliable Password Manager Application
A password manager is key for keeping your online accounts safe. Look into LastPass, 1Password, or Dashlane. They help you make and keep strong passwords.
9.3. Transfer Photos, Videos, and Media Files
If you’re moving from an old phone, you’ll want to bring your photos and videos. iPhone users can use Google’s Android Switch app or Google Drive. Google Drive lets you upload from your old phone and download to the new one.
Android users can use Smart Switch or Shareit. iOS users can use Quick Start or iCloud to move their stuff.
9.4. Restore App Data and Personalized Settings
Last, get your apps and settings back. Most devices have a backup and restore feature. This lets you get your old settings and data back. Make sure you’ve turned on cloud backup services like Google Drive or iCloud.
By doing these steps, you’ll have your new phone ready to go. You’ll have all your important apps and your data in place. This makes switching phones easy.
10. Conclusion
Setting up a new phone is key to keeping it safe and making it work smoothly. You’ve done a great job by following this guide. This means your personal info is safe, and your phone is running well.
Backing up your data is more than just for emergencies. It’s a daily habit to keep your info safe. With your new phone set up right, you can enjoy it more and worry less about problems.
Your phone now has strong security, good backups, and settings for better display and battery life. You’ve also made it your own by choosing how you get notifications and installing important apps.
Spending time on setting up your new phone is worth it. It keeps your digital world safe and your phone working great for you. Use this checklist anytime you need to set up a new phone or fix issues with your current one.
Q: What is the most important step in a new phone setup checklist?
A: The most critical step is enabling Find My Device (Android) or Find My iPhone (iOS) and ensuring Two-Factor Authentication is active. These features protect your hardware and personal data from theft and unauthorized access.
Q: How can I ensure a smooth transition using a phone setup guide?
A: Always perform a manual backup of your old device to iCloud or Google Drive before starting. This ensures your recent messages, photos, and app data are included in the setup process.
Q: Are there specific mobile phone configuration tips for better battery life?
A: Yes, enable Adaptive Battery or Optimized Battery Charging. Also, turn on Dark Mode and reduce the Auto-Lock timer to maximize battery endurance.
Q: What should I look for when activating new phone regarding privacy?
A: Immediately review App Permissions. Restrict Location Services to “While Using” and disable App Tracking to prevent third-party companies from building a profile based on your movement and usage habits.
Q: Does a phone setup tutorial include security software recommendations?
A: A professional tutorial will suggest installing a password manager like Bitwarden or 1Password. For Android, ensuring Google Play Protect is active is a standard part of the setup checklist.
Q: How do I transfer my SIM card during the smartphone activation steps?
A: Most modern phones use a Nano-SIM or an eSIM. Check with carriers like T-Mobile or Verizon to see if you can convert your physical SIM to an eSIM for a smoother setup.
Leave a Reply